
Are you ready to embark on your journey to create a stunning website with WordPress? Installing WordPress is the first step towards building your online presence. Whether you’re a blogger, entrepreneur, or small business owner, WordPress offers a user-friendly platform to bring your vision to life. In this comprehensive guide, we’ll walk you through the process of installing WordPress step by step.
Step 1: Choose a Web Hosting Provider Before installing WordPress, you’ll need to choose a web hosting provider that meets your needs. Look for a reliable hosting provider that offers one-click WordPress installation, good uptime, fast loading speeds, and excellent customer support. Some popular hosting providers include Bluehost, SiteGround, and HostGator.
Step 2: Register a Domain Name If you haven’t already, you’ll need to register a domain name for your website. Your domain name is your web address (e.g., yourwebsite.com) and plays a crucial role in branding and accessibility. Many hosting providers offer domain registration services, or you can use a separate domain registrar like Namecheap or GoDaddy.

Step 3: Access Your Hosting Account After signing up for a hosting plan and registering your domain name, you’ll receive login credentials to access your hosting account. Log in to your hosting account using the provided username and password.
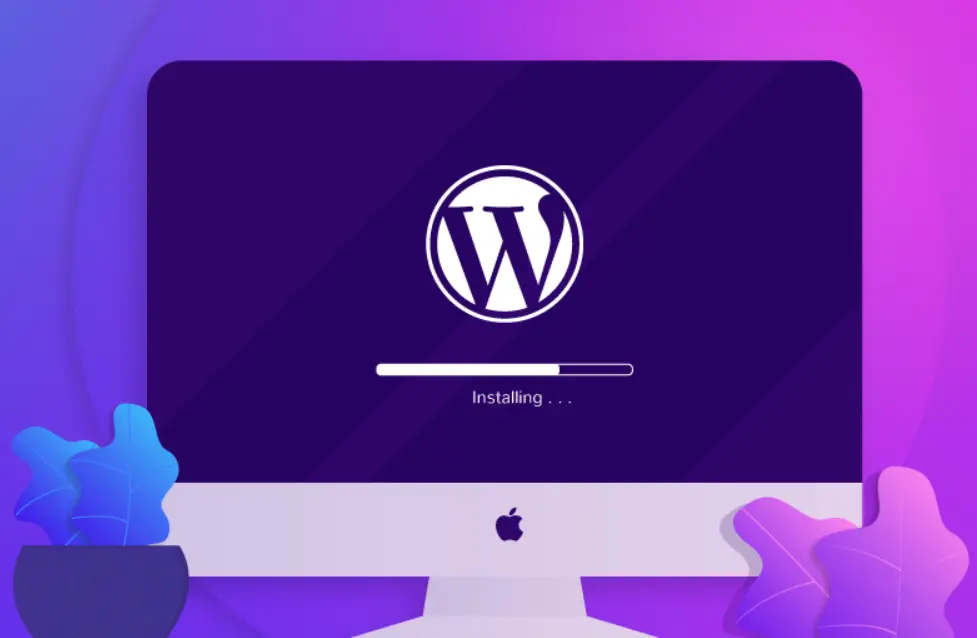
Step 4: Install WordPress Most hosting providers offer a one-click WordPress installation feature, making the process quick and effortless. Here’s how to install WordPress using the one-click installer:
- Log in to your hosting account’s control panel (cPanel).
- Look for the “WordPress” or “Website” section and click on the WordPress icon.
- Select the domain name where you want to install WordPress.
- Choose a directory (usually optional, leave it blank to install WordPress in the root directory).
- Click the “Install” button and follow the on-screen instructions.
- Enter your website name, admin username, password, and email address for the WordPress installation.
- Click “Install” to complete the installation process.
Step 5: Access Your WordPress Dashboard Once the installation is complete, you’ll receive a confirmation message with a link to your WordPress dashboard. You can access your WordPress dashboard by navigating to your domain name followed by “/wp-admin” (e.g., yourwebsite.com/wp-admin) and entering your admin username and password.
Step 6: Customize Your Website Congratulations, you’ve successfully installed WordPress! Now it’s time to customize your website to reflect your brand and style. Explore the WordPress dashboard to add themes, install plugins, create pages, write blog posts, and customize settings to personalize your website.
Step 7: Launch Your Website After customizing your website to your liking, it’s time to launch it for the world to see. Preview your website to ensure everything looks and functions as intended. Once you’re satisfied, publish your website and start promoting it to attract visitors and grow your online presence.
In conclusion, installing WordPress is a straightforward process that anyone can do, even with minimal technical knowledge. Follow this step-by-step guide, and you’ll be well on your way to building a professional and dynamic website with WordPress. Happy website building!


Recent Comments